
Oh, many people asked for it, so, I'll do ~ i hope that it'll be good, because I'm not good with explanations.
Well. First:
Which the program that I use?
Gimp 2.8 (you can download it in the site, it's free! www.gimp.org/downloads/ )
But you can use Photoshop too, because GIMP looks like with Photoshop, but it's free, more simple and more "light".
I'll explain of a mode that is possible make in Photoshop or GIMP, not much detailed, I wait that you know the basic of the program.
Ah! Have many many patience >//<
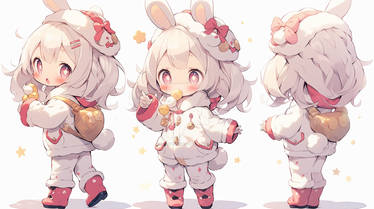
The images about what I saying are in the right of the text.
And create a "border" (in other layer) with the size 50x50 so you know that your pixel art is in the size correct.
 Is good if you have some reference, or know how you want do it.
 References¹ that I recommend I'll put in the end of the "tutorial".

And oh yes, without clothes.
The eyes will to blink, so, I make in a separate layer. And yes, I love do it, so is the first thing!

Basic colors first! I use many layers for do all, so, yes, the skin is in a layer and the hair is in other.
For correct mode, see tutorials, like this: Pixel Art Tutorial - Human and luvpixel Pixel Art Tutorial.

For shadows, I select the color, and use the brush tool, with lights are the same, but with a light color, and finally little white points with pencil tool.

Now how I animate this in GIMP
For how animate in Photoshop see here: fav.me/d3iz0mj


Ok, now, put the milliseconds in the layers, thus:

You can see she's blinking in the menu Filters > Animation > Playback
"But she's blinking much... mechanical and blergh D:"
No problem ^w^
Duplicate some layers, and change the velocity, and TADAM she's blinking much better! See:

Click in the Gumi for see how many layers I use.
You need export as a animated gif:

But the deviantART don't accept for avatar gif with more 15KB ¬_¬'
So you need optimize this! In the same menu Filters > Animation > Optimize (for GIF) and save again as a animated gif.
Gumi was 27,3 KB now is 5,1 KB!
Finished!

You should have many questions for me, I KNOW I explain VERY BAD D: ask whatever you want >//<
I hope it helped you, and thanks!

¹ Good references: